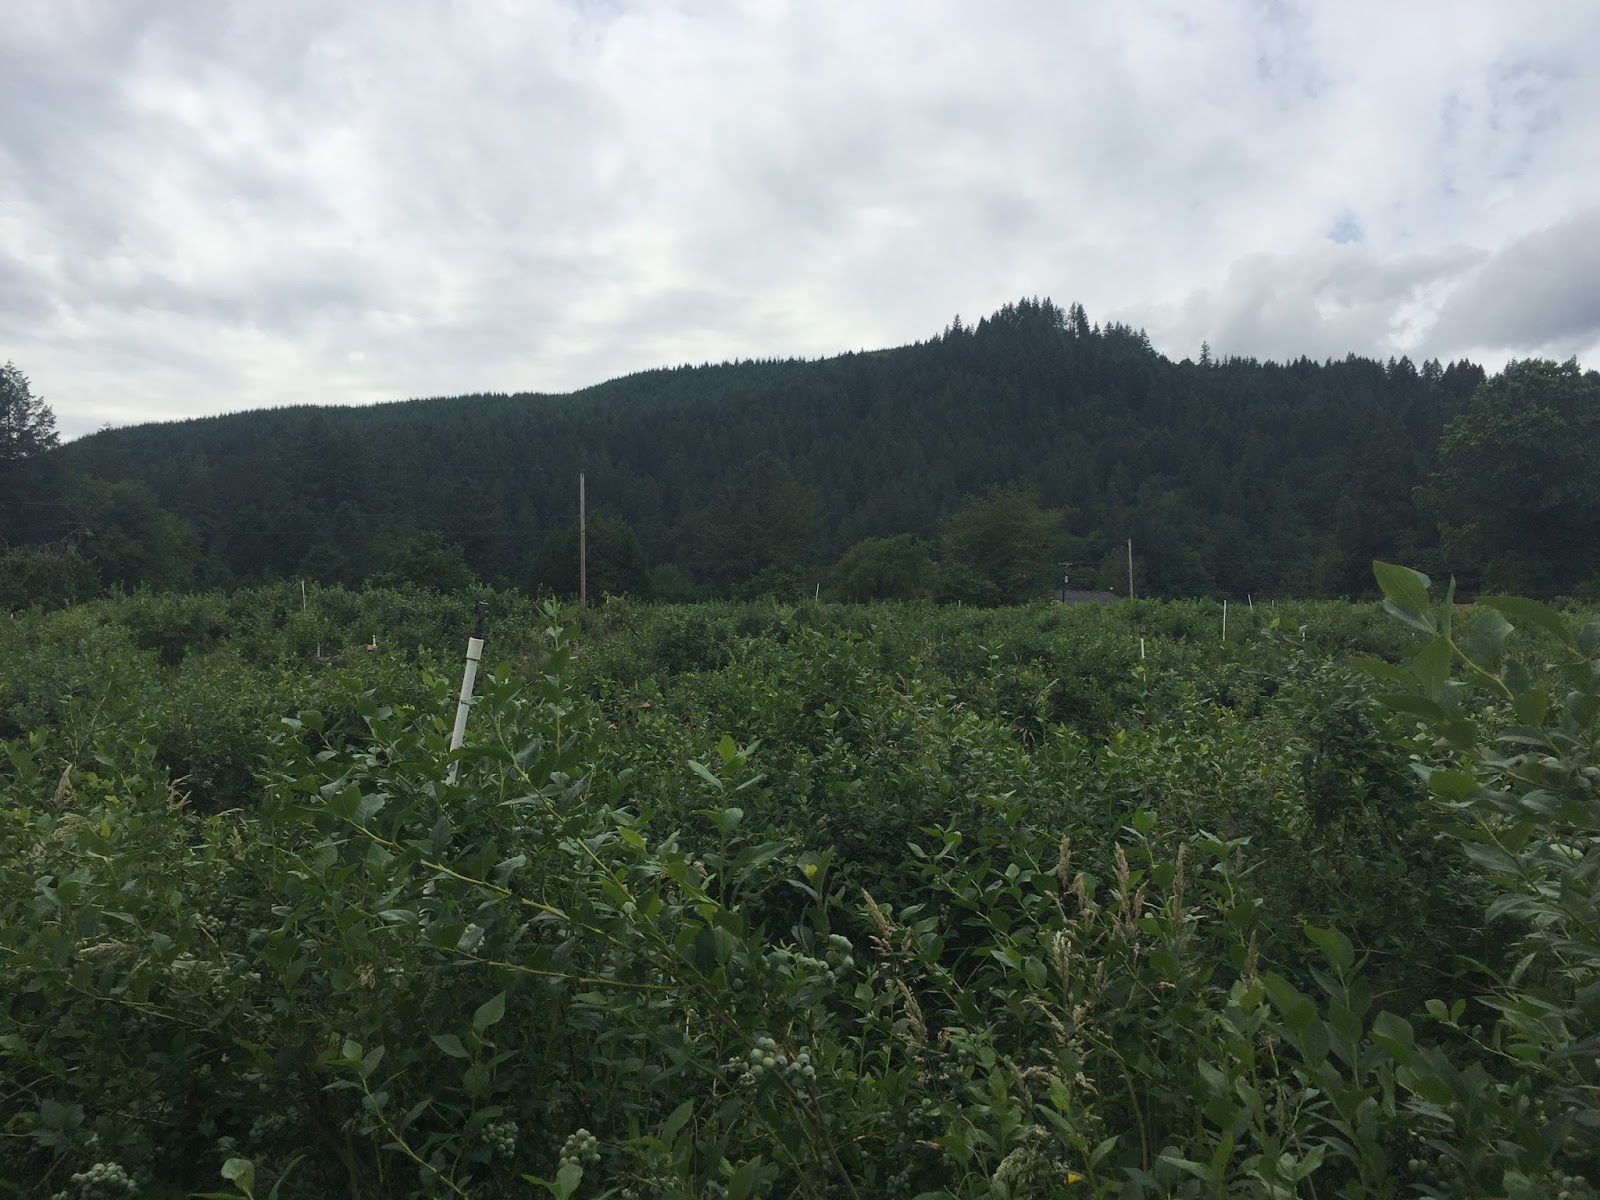
Here in the beautiful state of Oregon, we sometimes get pretty lucky with our fruit and things ripen quickly! This year has not yet disappointed. There is an amazing little farm with 6,000 blueberry plants and they had an early harvest....so a few of us were lucky enough to pick a few days ago! At $1.50 a pound, the 30 minute drive was worth it (and not to mention, scenic....even if cloudy)!
We each picked 2 - 10 pound buckets (some are getting frozen for later) and off we went!
I decided that I wanted to can them and make a syrup. My idea is to use this all year long....on pancakes, ice cream....the list goes on!! I have yet to splurge on a pressure canner, so I have a water bath canner that I used for this. I have a flat glass top stove, so I pull one of the oven racks out, place on the stove top burners, and then it will allow me to water bath can. Otherwise, it will not work with the flat stove top. I usually fill the canner about 1/4 the way with water with the burner on high, and have other pots boiling as well to get it to a rolling boil faster.
Now....on to the recipe, lady! Ok, Ok, I hear ya!
- 6 cups organic blueberries (this was about 3 pounds)
- 1 1/2 cups of water (tap if you're lucky enough to have good tap, or filtered)
- 6 tablespoons of pure cane sugar (or coconut sugar, less or more of either based on taste)
- 10 drops of lemon essential oil
- 6 pint mason jars, lids and rings for canning
Directions
- Wash your berries and then place in a 6 qt pot on medium high heat with the water, smash them up a bit and wait for them to boil and be broken down.
- While your berries are boiling, get your water bath canner boiling as well. (helps speed up the canning process).
- Once your berries are boiling, turn down the heat and simmer for about 15 minutes, stirring occasionally.
- I used a fine mesh strainer placed over a bowl and poured the berries out (squeeze out the juice real good), leaving the berries in the strainer...for now.
- Pour the juice back into your 6 qt pot, add the sugar and lemon essential oil.
- Bring back to a boil then simmer for about 10 minutes until it thickens up.
- Using a canning funnel (or any funnel), ladle the liquid into your jars, leaving two inches from the top of the jar, then, ladle some of those berries in there! (If you aren't like me and don't want the berry mush in your syrup, then just fill with the liquid leaving 1/2 inch head space).
- Put the lid on, loosely tighten the rings on top.
- Once your water bath canner is at a rolling boil, place your jars in (make sure they are not touching), I time it for 20 minutes on the rolling boil and then remove then and set them out on a towel on the counter...patiently waiting for the 'pop' to tell me that they are sealed! *Store in a cool, dry place and consume within a year.
Already delicious on some pancakes!! Next up....ice cream topping!


Wow! Can't wait to try this recipe. I've never canned a syrup. Thanks for posting.
ReplyDeleteWow! Can't wait to try this recipe. I've never canned a syrup. Thanks for posting.
ReplyDeleteLet me know how it turns out! We couldn't wait, so we opened a jar up and made pancakes 😀
DeleteLooks delicious! Makes me want to go blueberry picking. :) Nice blog!
ReplyDeleteThank you, Sarah! I've always wanted to figure it out...and now that I have more time, a friend encouraged me to start one and I did! It's fun :)
DeleteMy new place has a flat top stove. I was trying to figure out how I was going to can. I knew I should have asked you!
ReplyDeleteP.S. That blueberry syrup looks amazing.
It's delicious :) Yes, it was a trial and error to figure it out. Most of the canning I do is in the heat of the summer, and I was NOT about to go outside!
DeleteSo professional!!!
ReplyDeleteWhy thank you!! It's become a super fun new obsession for me! :)
Delete